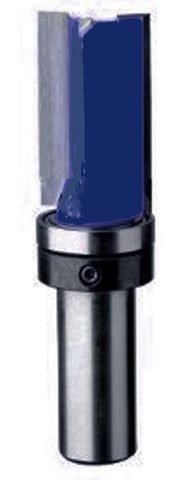
The template must be securely fastened to the workpiece. When choosing a bit, carefully consider the thickness of the template and all the implications of the cut. Opt for the shortest bit possible for the project you are working on. When selecting a pattern bit, be sure to keep in mind the complexities of the pattern and the tightest radius in the pattern. Always use the largest diameter bit that is compatible with the pattern for the best finish quality and the greatest ease of use. Larger diameter bits also allow for larger bearings which last longer in heavy use applications. Always remember to check the bit clearance below your work so that you don’t accidentally cut into your workbench or other support structure.
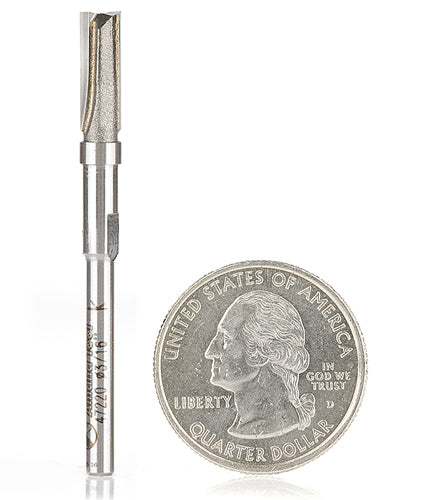
PATTERN ROUTER BITS 1/4" SHANK
QUESTIONS & ANSWERS
Ask a Question-
What's the difference between Pattern and Flush Trim bits?
Flush trim bits have a bearing mounted at the tip. This is the preferred method for use in a router table as you would have a clear view of the template with the workpiece on the table and the template on top. Adjust the bit height so the bearing runs along the template’s edge. This bit can also be used with a handheld router in cases where you may be flush trimming a table or counter flush with the supporting structure which acts as the template. Pattern bits have the bearing mounted on the shank. The template is placed face down on the table with the bearing height adjusted to contact the template. Pattern bits may also be used with handheld routers with the template on the top surface to allow better visibility of the template while cutting. We also have bits with bearings on both the shank and the tip for maximum versatility. If you need to change the direction of cut to compensate for grain that could tear out, this bit will be very handy. When using any of these bits, always use the largest diameter bit that is compatible with the pattern for the best finish quality and the greatest ease of use. Larger diameter bits also allow for larger bearings which last longer in heavy use applications. Ease the material into the bit until it contacts the bearing, then continue to route around the template. Always remember to check the bit clearance below your work so that you don’t accidentally cut into your workbench or other support structure. You should never be removing more than about 1⁄8″ of material in any one pass. Pausing too long in any spot will cause excess heat and can burn the wood. Shallow passes mean smoother results. Double-check the surfaces before removing the template. Another pass may be needed to smooth out a rough spot. Proper maintenance of the bearing will ensure longer life and smoother cuts. If you have a thick piece of material larger than the cutting length of the bit, use both a pattern bit and a flush trim bit. First use the pattern bit, template side down. Once that surface matches the template, remove the template and make another pass with the bearing riding on the surface of the material to extend the first cut. Flip the material over and use the flush trim bit with the bearing riding on the finished surface.

